Editorial · Feature Article
The Most Overlooked Piece of Tackle in Your Box: Your Trailer
Most anglers obsess over blade color, jig head weight, or skirt pattern — and then grab whatever trailer is closest at hand. That’s a mistake.
Whether you’re throwing a spinnerbait, a swim jig, a football jig, a flipping jig, a buzzbait, a chatterbait, or an underspin, the trailer you pair with it can do more to change its action, fall rate, and profile than almost any other adjustment you can make. Dial it in and you can turn a mediocre day into your best one on the water.
You don’t need a different mental model for every bait. A small set of rules governs trailer selection across nearly all of them. Learn these once and you can apply them to whatever’s tied on.
Rule 1
Let the Bait Tell You What It Needs
Before you touch a trailer, ask what the bait already does on its own. A spinnerbait or chatterbait generates plenty of action from its blade — so the trailer’s job isn’t to add more movement, it’s to control how much of that built-in action comes through, plus depth and profile. A football jig or flipping jig, by contrast, has no action of its own once it hits bottom or falls into cover — so the trailer has to supply movement, and profile becomes just as important as action.
The rule: trailers amplify or dampen a bait’s existing action — they rarely create action from nothing. Know which job you’re asking the trailer to do before you pick one.
Rule 2
More Plastic Slows It Down, Less Plastic Speeds It Up
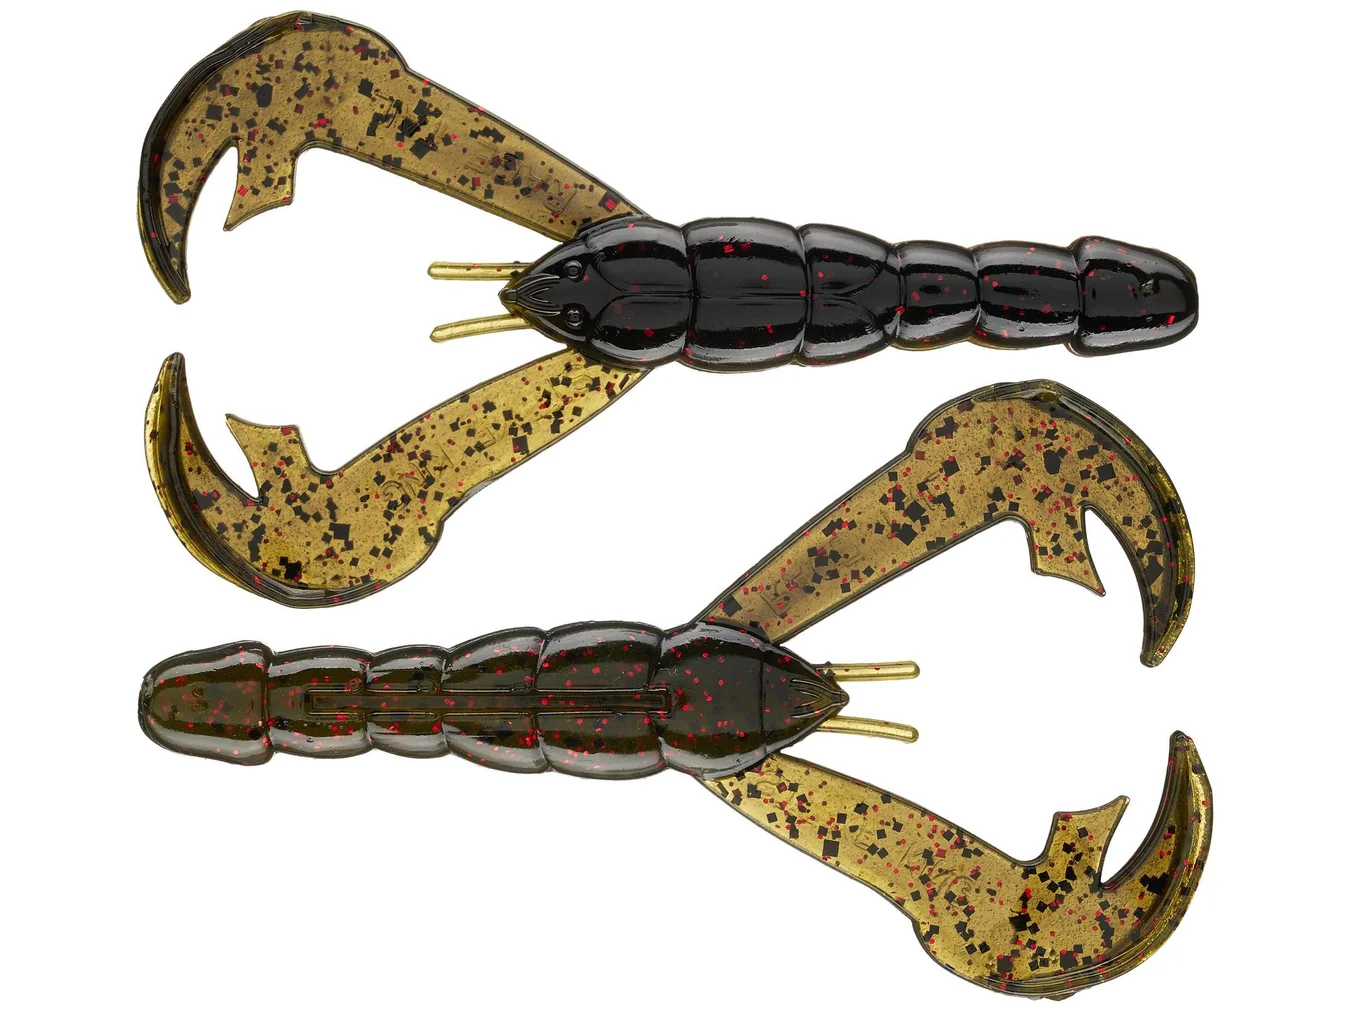
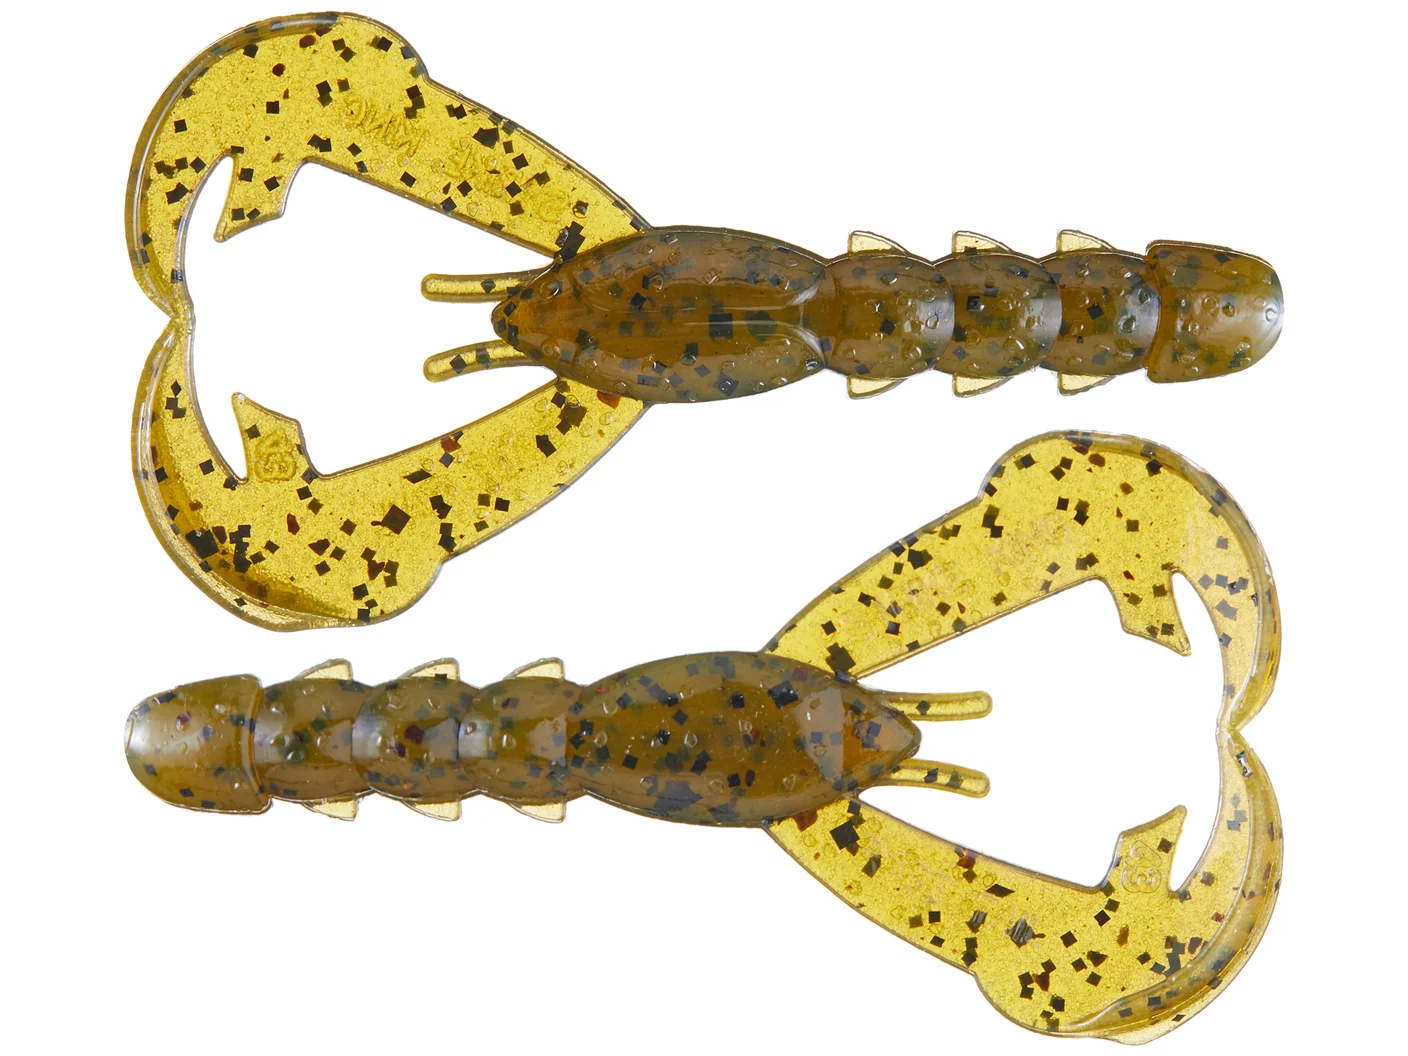
This is the single most useful rule across every trailer-dependent bait. A trailer with a lot of plastic — a thick body, big claws, a heavy boot tail — adds resistance and buoyancy. That slows the bait’s fall or retrieve, keeps it riding higher in the water column, and adds more thump and vibration. A slimmer trailer with less plastic cuts resistance, lets the bait fall or move faster, and produces a subtler, tighter action.
If you want a bait to fall faster and trigger reaction strikes, downsize the trailer. If you want it to stay in the strike zone longer and put off more vibration, bulk it up.
Rule 3
Match the Trailer to Water Temperature
Cold water calls for less action, because forage naturally moves slower and more sluggishly when it’s cold. Warm water calls for more — bigger kicks, more thump, more commotion. This is why the same jig can carry two completely different trailers depending on the season: a slim, low-action trailer in the 50s, and a bulky, hard-kicking trailer once the water warms into the 70s and 80s.
Rule 4
Match the Trailer to Water Clarity
Clear water rewards realistic profiles and subtler action — fish can see the bait clearly, so a natural look and a tighter movement out-produce something loud and oversized. Dirty or stained water flips that: fish need to feel the bait more than see it, so bulkier trailers with more displacement and a bigger silhouette get more attention.
Rule 5
Profile Should Always Look Realistic
Regardless of bait or trailer, the finished package should look proportional — never a small bait dragging a huge trailer, and never a big bait with an undersized one. If a trailer is too long for the bait it’s paired with, trim it down rather than fish it oversized. A mismatched profile is one of the easiest ways to turn fish off, even when your action and color are otherwise dialed in.
Rule 6
When the Bait Sits Still, Profile Beats Action
Any time a bait spends real time stationary or crawling slowly on the bottom — think football jigs on a drag, or a jig sitting in a pause — action matters less than what the bait looks like sitting there. This is when profile-driven trailer choices (matching size to the average fish in that fishery, or borrowing a trailer style from an entirely different rig) tend to outperform anything chosen purely for movement.
Trailer Color: When to Go Natural and When to Stand Out
Color is the other half of the trailer equation, and the same handful of variables that govern plastic volume and action also govern color choice.
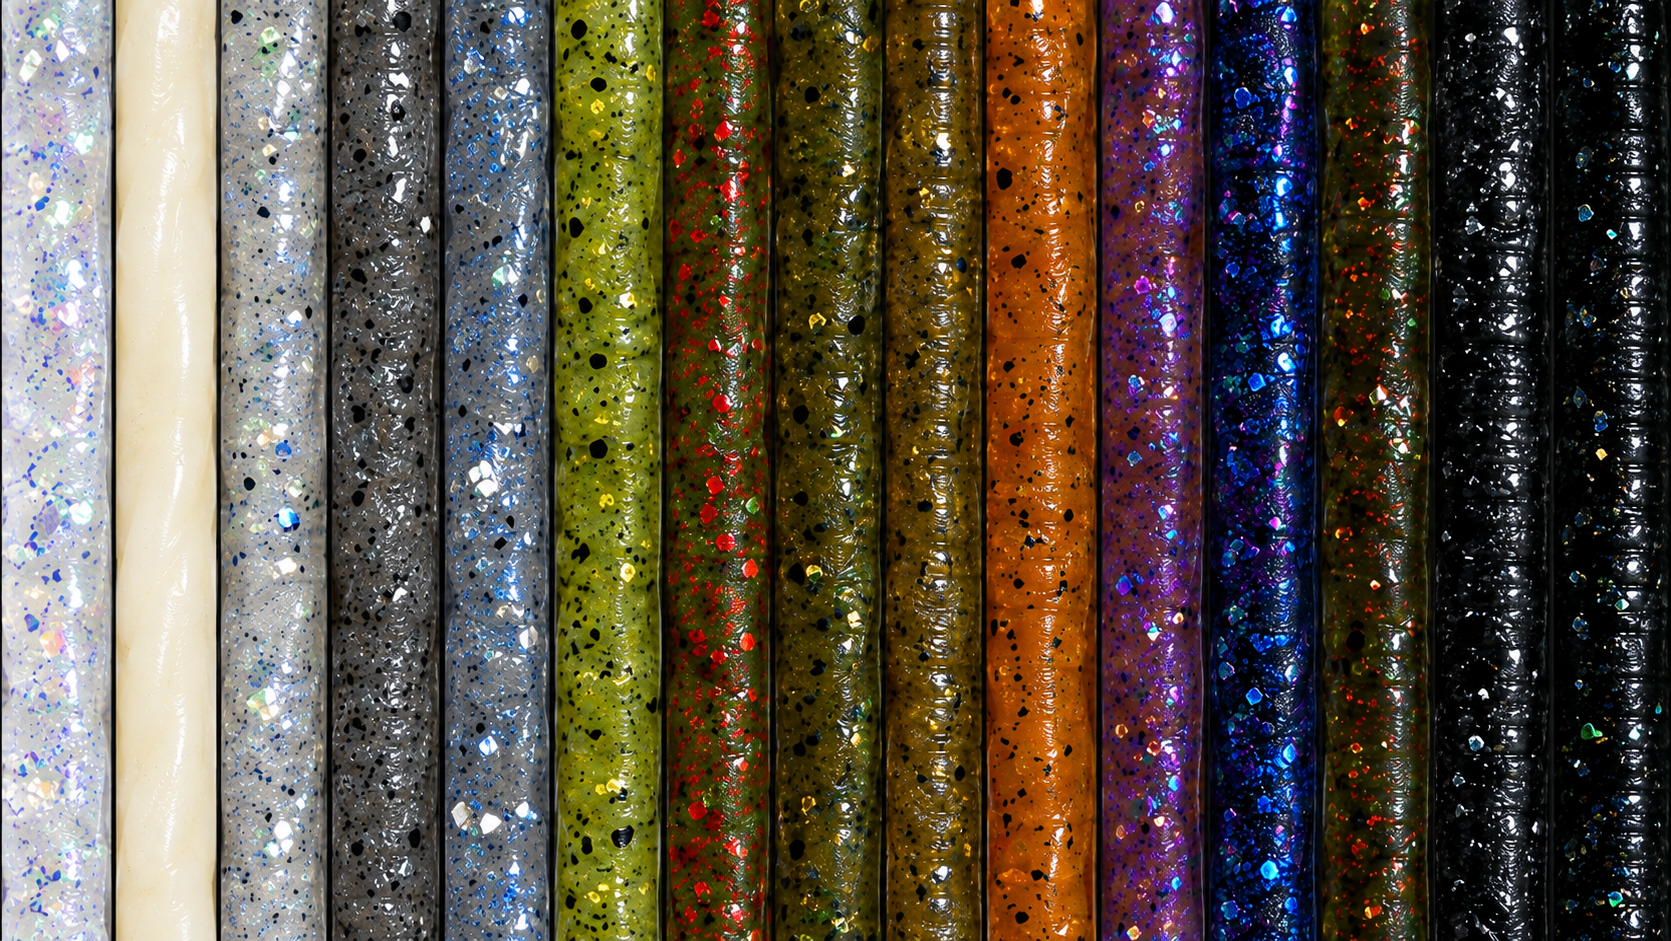
Water clarity is the biggest driver. In clear water, lean toward natural, translucent colors — green pumpkin, watermelon, smoke, or anything with light flake that mimics real forage. Fish get a long look at the bait in clear water, and anything too dark or too bright can look unnatural and get refused. In stained or muddy water, go the opposite direction: darker colors like black-and-blue or junebug create a bold, easy-to-find silhouette against low light penetration, while brighter colors like chartreuse or orange dye stand out better against a dull, low-visibility background than natural tones do.
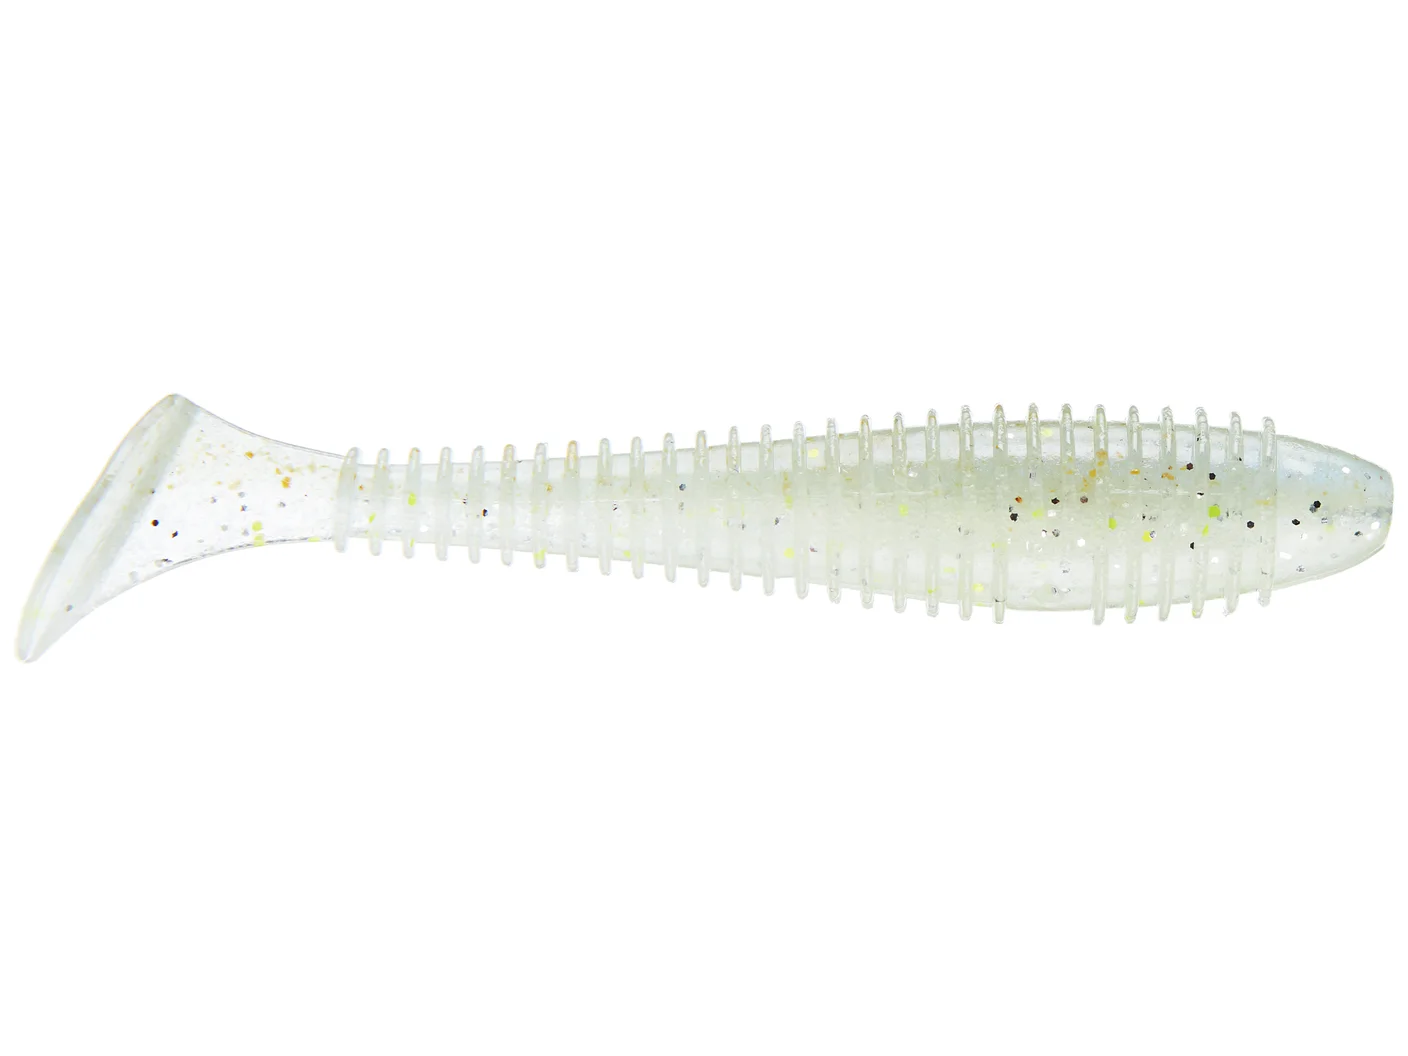
Match the forage, then adjust for mood. If bass in your water are keyed in on shad, stick to white, pearl, or translucent shad-type colors on swimbait and paddle-tail trailers. If they’re feeding on crawfish — common in spring and fall, or around rock — green pumpkin, brown, and red/orange-flake craw colors on football jigs, flipping jigs, and swim jigs will consistently outproduce shad colors.
Light conditions matter as much as water color. On bright, sunny days in clear water, natural and translucent colors again take over — flash and shadow do more work than color contrast. On overcast days or in low light (dawn, dusk, or heavily stained water), darker colors that create a strong silhouette, or brighter colors like chartreuse that show up well against a dull background, tend to draw more strikes.
When in doubt, let the trailer do the accenting. A common approach is to keep the jig or bait body in a natural, forage-matching color and use the trailer to add a small pop of contrast — a chartreuse tip, an orange fleck, or a slightly brighter shade than the head. That gives fish a natural overall profile with just enough of a target to key in on, without making the whole package look artificial.
Technique Guides
Go Deeper on Each Bait
For a full breakdown of trailer setups, retrieves, and gear for each of these baits, check out the technique guides on the site:
- Spinnerbait Guide
- Jigs Guide
covers swim jig, football jig, and flipping (pitchin’) jig variants in one place
- Chatterbait / Bladed Jig Guide
- Buzzbait Guide
- Underspin Guide
The Big Picture
Across every one of these baits, the same short list of questions gets you 90% of the way to the right trailer:
- Does the bait already have action, or does the trailer need to supply it?
- Do I want it to fall/move faster (less plastic) or slower with more thump (more plastic)?
- Is the water cold (less action) or warm (more action)?
- Is the water clear (natural, subtler) or dirty (bulkier, bolder)?
- Does the finished profile look realistic?
- Is the bait moving, or sitting still and relying on profile alone?
- Does the color match the water clarity, light conditions, and forage?
None of these are hard rules in the sense that breaking one guarantees failure — there’s plenty of overlap, and fish get caught on “wrong” combinations all the time. But when you actually run through this checklist before you tie on, you stop leaving bites on the table. That’s often the real difference between an average day and a 25-fish day.