Field Guide
Soft Glide Baits
Big-glide action on ordinary gear — soft body, better hookups, and a friendlier price tag.
Confidence
Situational
Belews · Summer
Gear
Rod
7'0–7'5" MH / H casting, moderate-fast (standard casting stick)
Reel
Casting · 150-size · 7.1:1–8.1:1
Line
15–20 lb Fluorocarbon straight to the bait (loop knot or split ring on the line tie)
60-Second Refresher
When to Throw
Good Water
Clear to lightly stained water around docks, laydowns, shade lines, and points. Pre-spawn staging, fall shad migrations, and post-frontal tough days when the kill-and-fall shines.
Bad Water
Heavy matted grass or brush where exposed trebles hang, muddy water where bass can't track the profile, or dead-calm high-pressure days where every fish follows but refuses.
Bait Selection
Starter · Budget · Line-Through · Step Up
Pick by retrieve style and commitment level
Start with the Berkley Chop Block for the signature chop retrieve and friendly gear requirements. Add the Nessie as a cheaper second profile, the Savage Gear Soft Shine Glide for line-through and surface-burn options, and the Grow Design Flag 170 or Flag 255 once the technique has earned a permanent spot in your rotation.
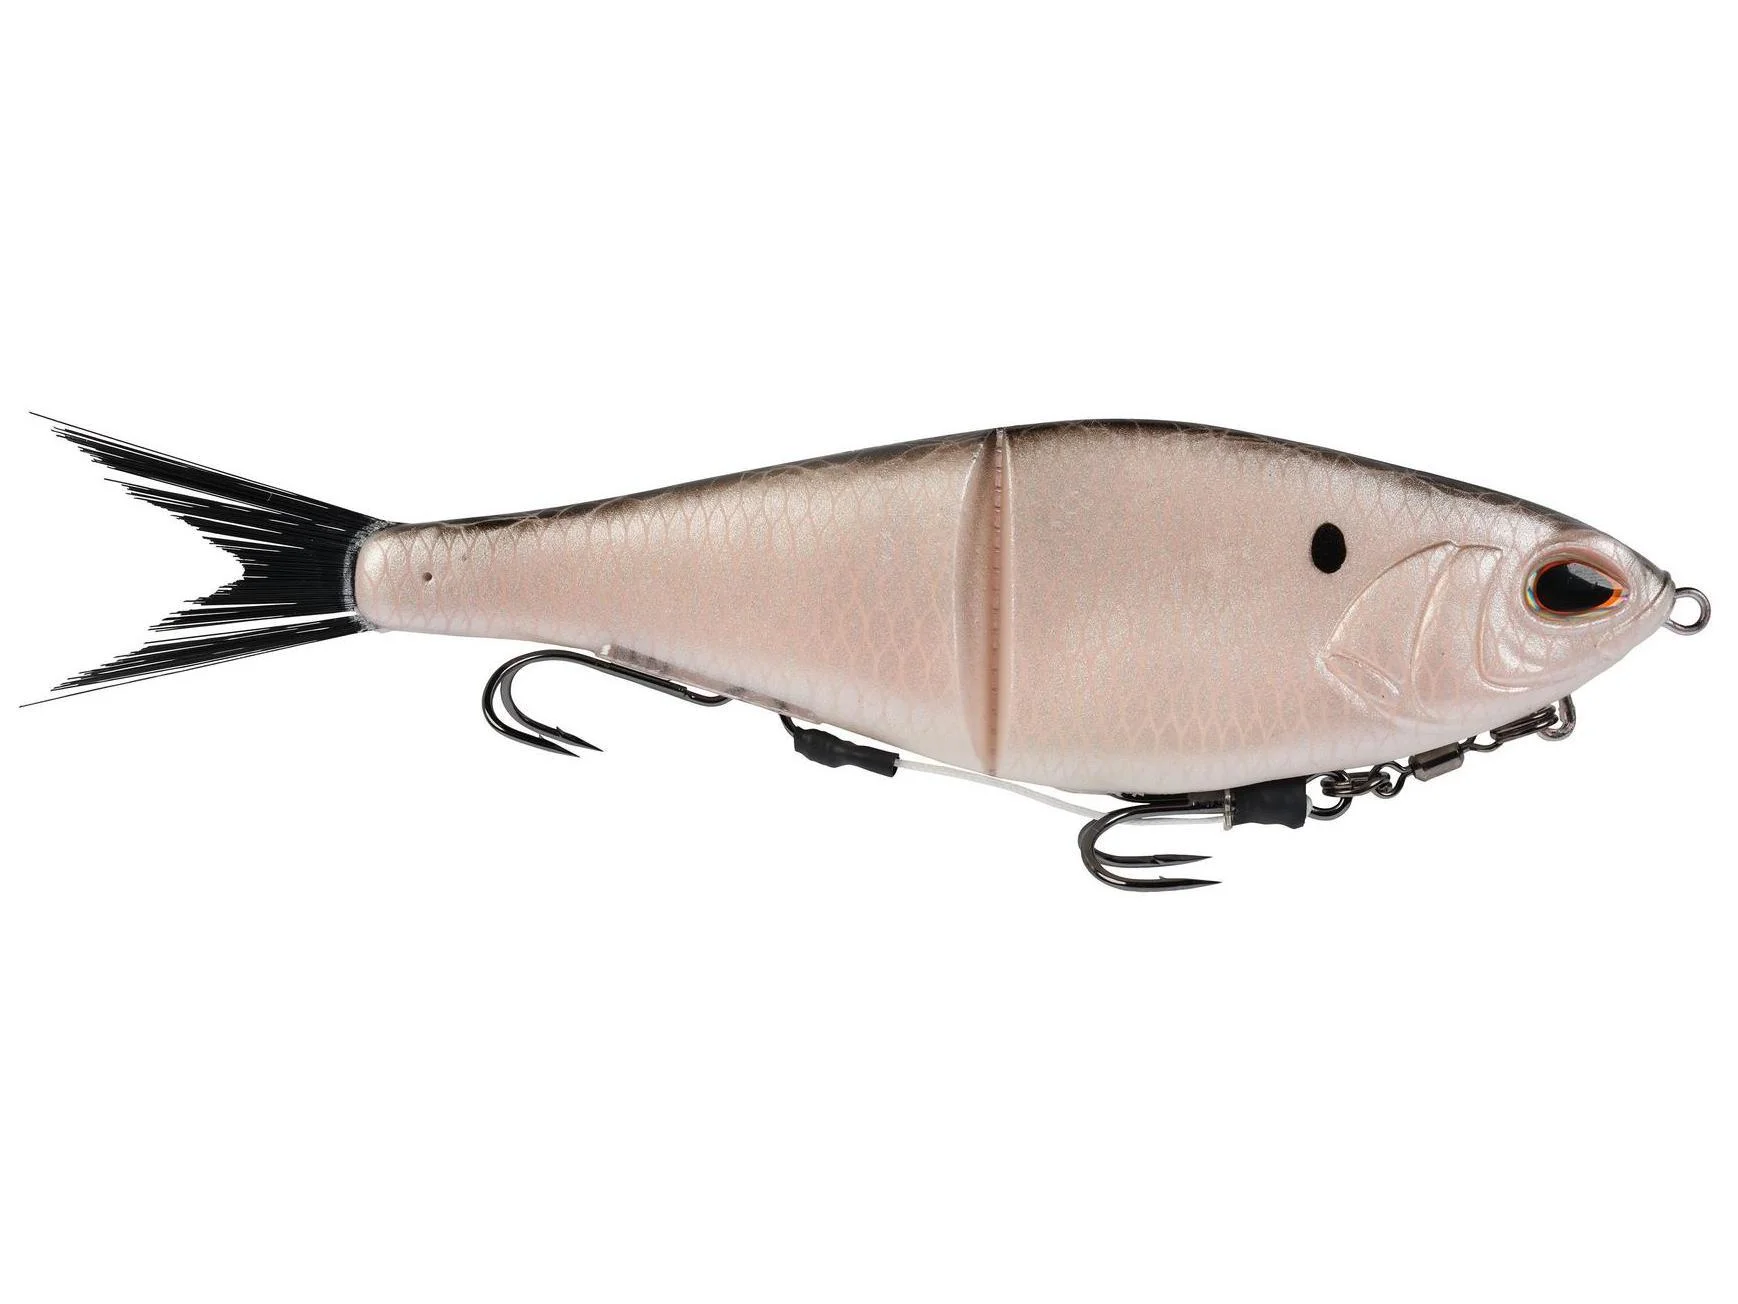
Berkley PowerBait Chop Block 6"
Shad / Gizzard — 1 oz
Starter / ordinary gear / chop retrieve
Detachable Fusion19 harness; tie with loop knot
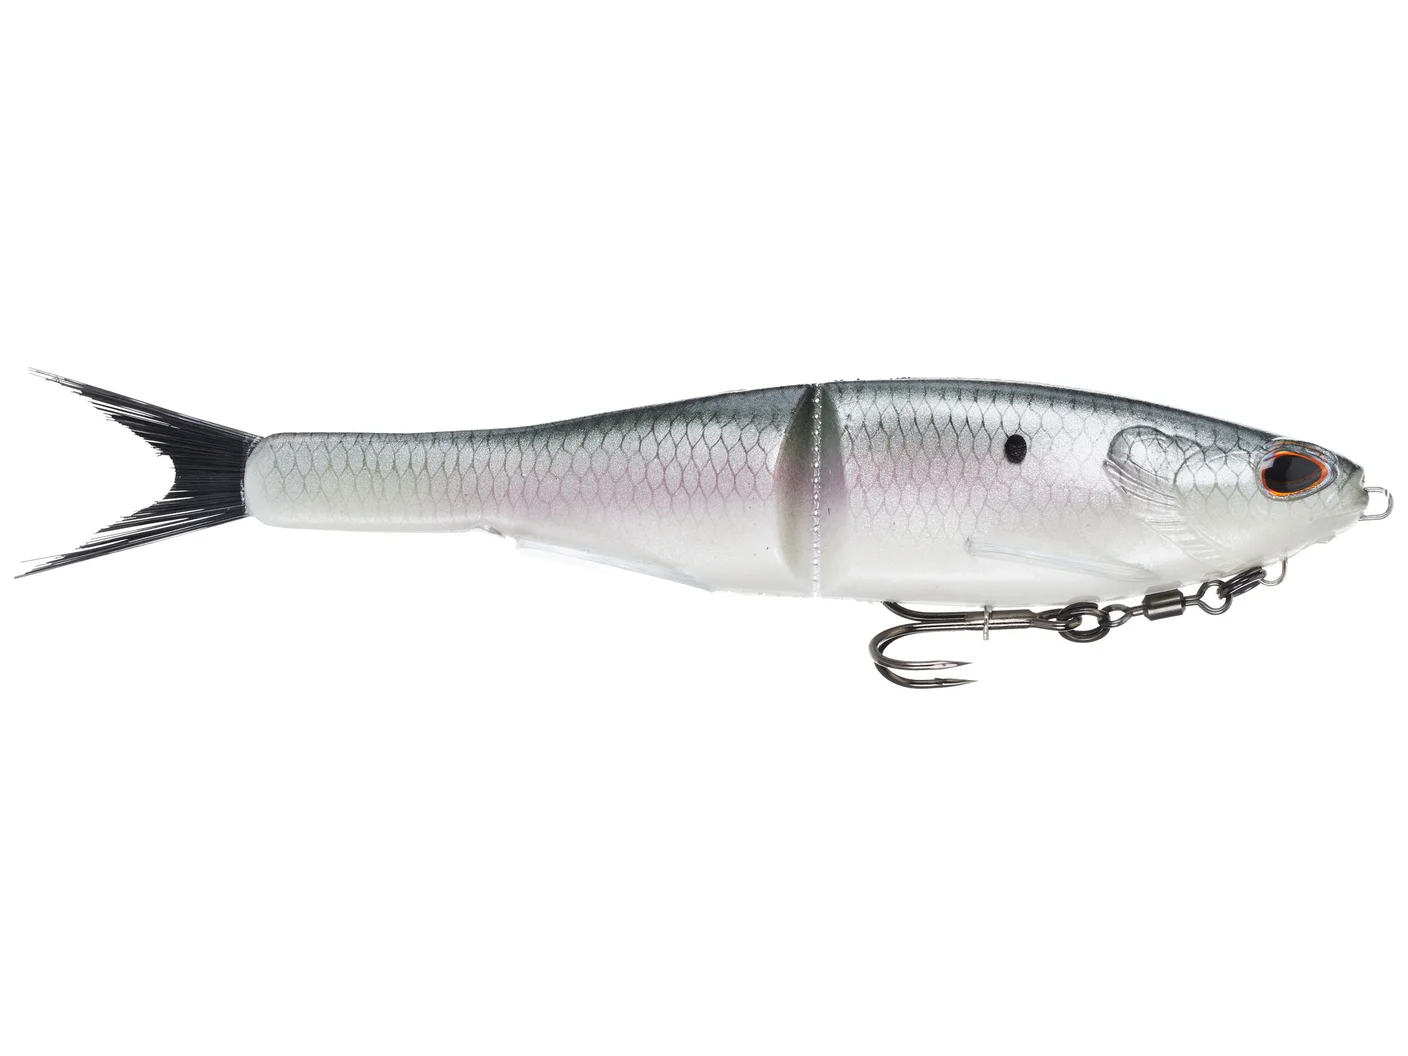
Berkley PowerBait Nessie 7"
Natural shad
Budget second profile / sweep-and-fall
Softer, more sinuous action than the Chop Block
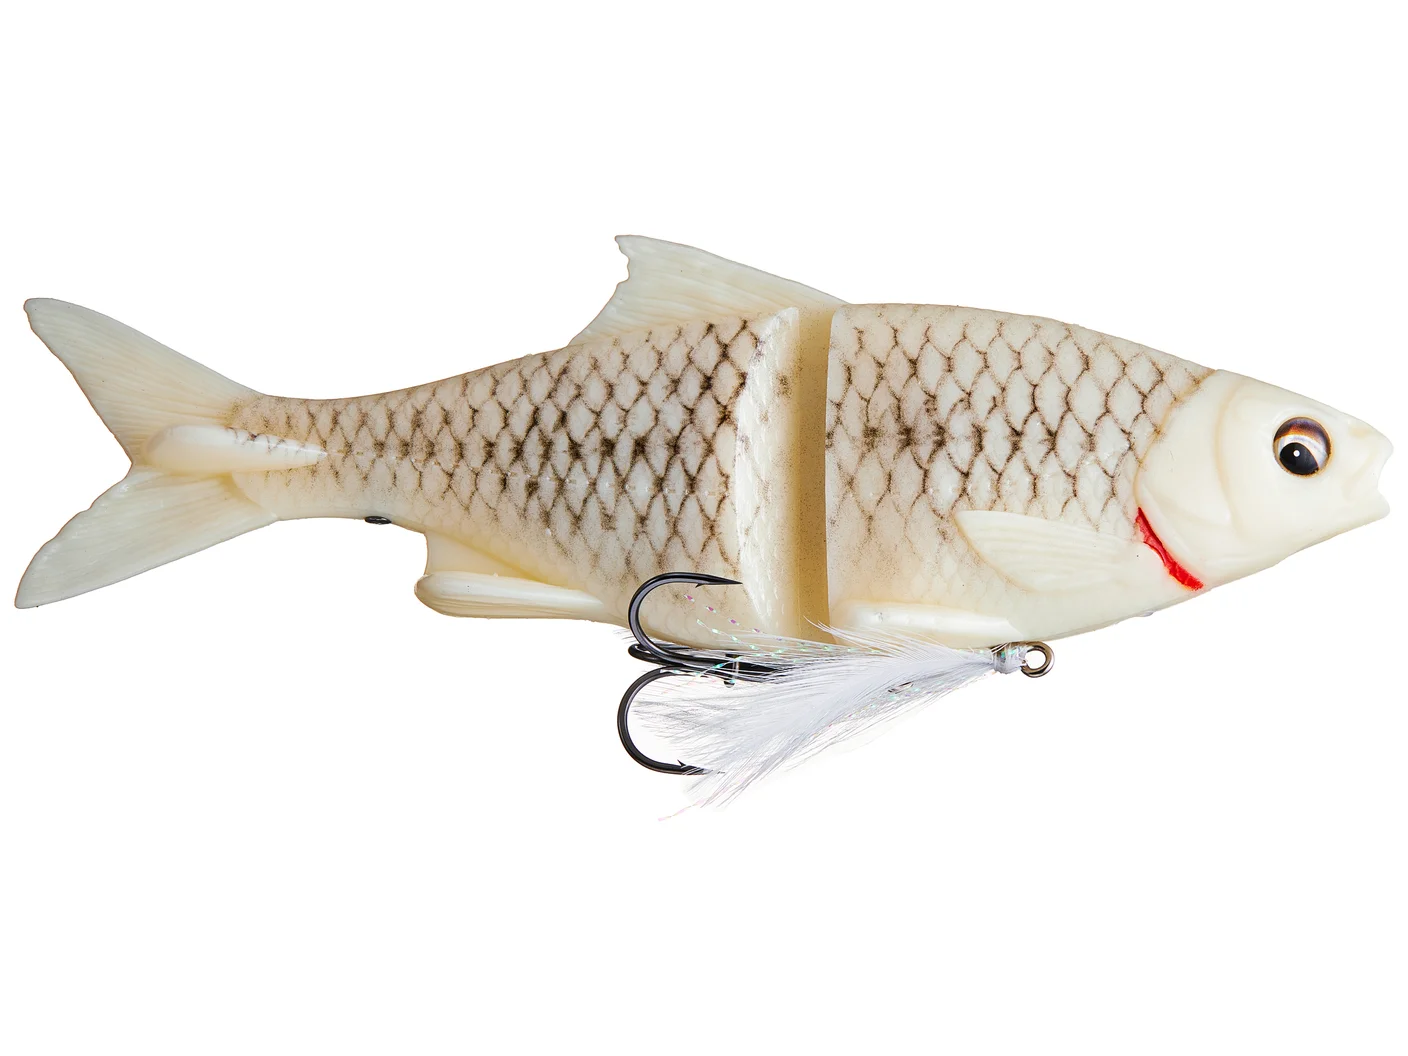
Savage Gear Soft Shine Glide 7"
Bone
Line-through / jerkbait-style twitch / surface burn
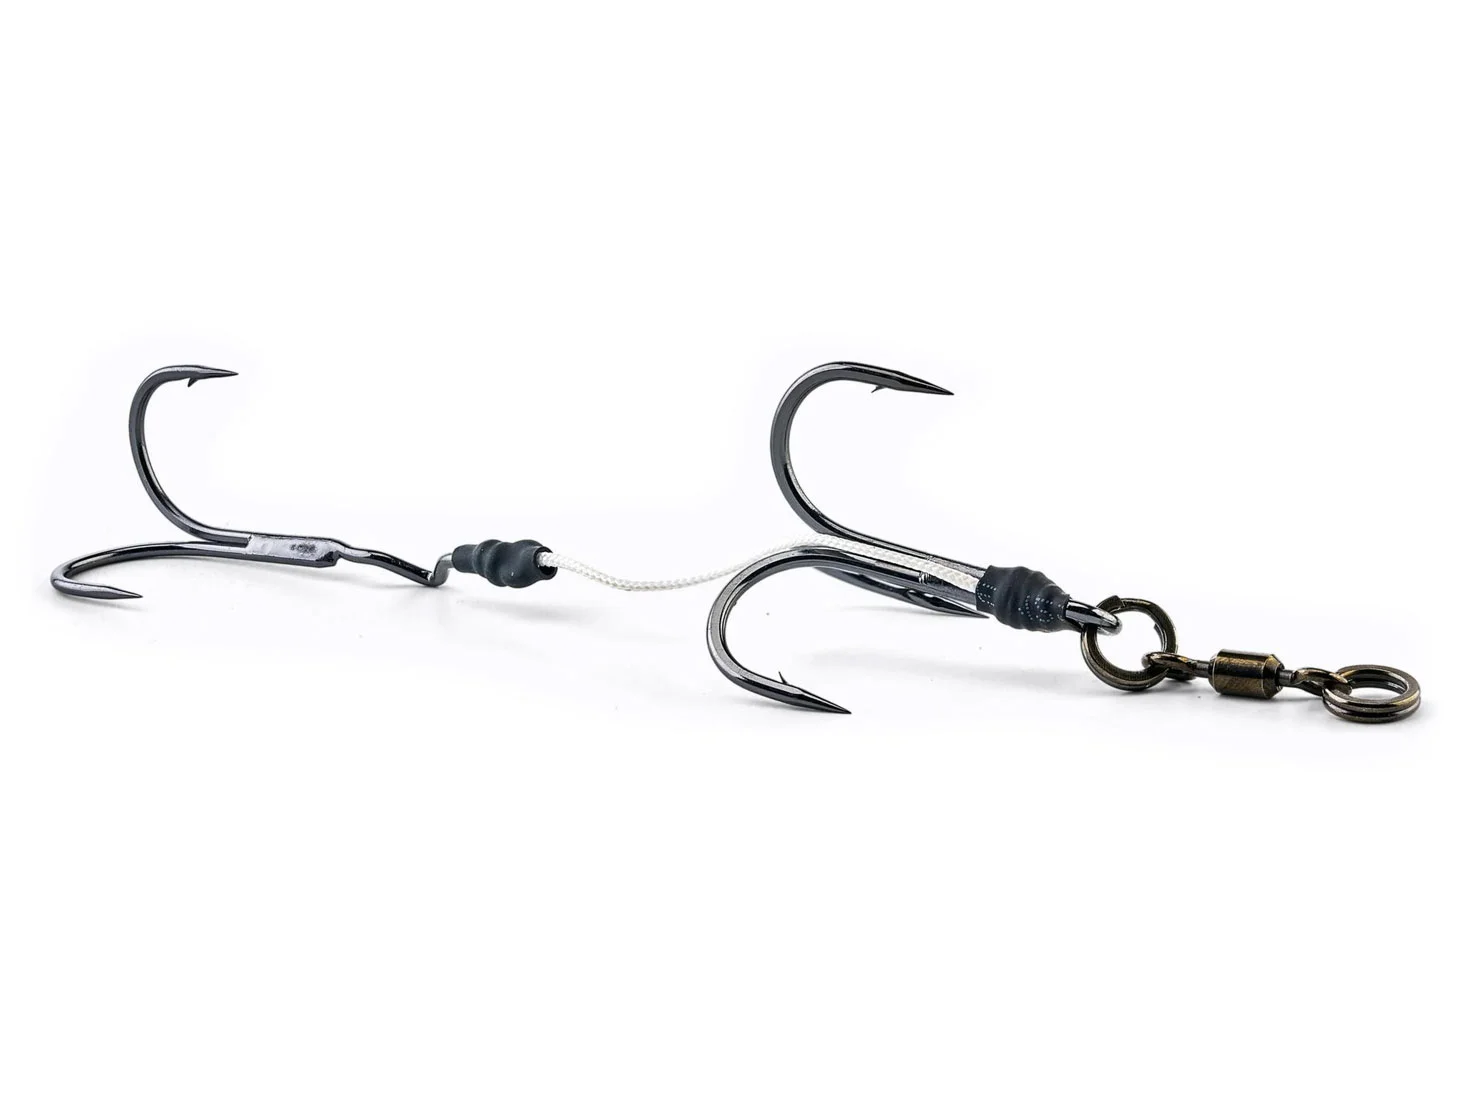
Feathered treble releases from belly slot on hookup
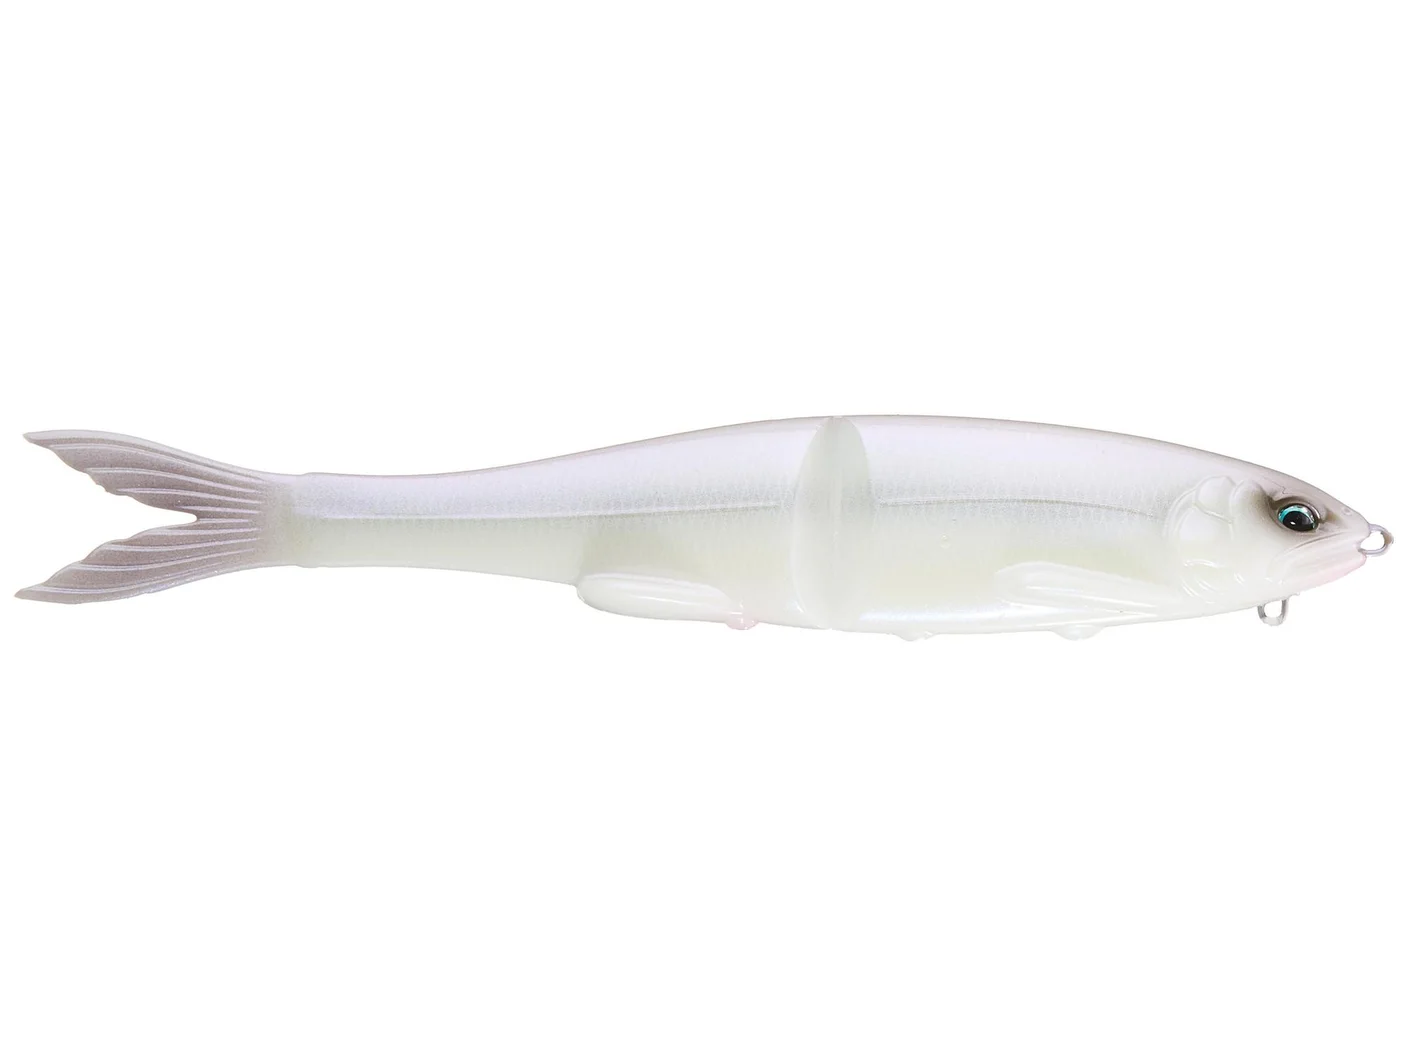
Grow Design Flag 170 7"
Phantom, Frost
Mid-size step-up / wider glide
Soft glide bait with more committed big-bait action
Grow Design Flag 255
Albino Purple Shad
Step-up / widest S-glide
Largest soft-glide profile for experienced big-bait anglers
The Chop
Docks · Laydowns · Shade Lines
Quick successive rod-tip twitches or sharp quarter-turns of the reel handle produce a tight side-to-side chopping action. The bait walks in place, letting you hold it in the fish's face longer than a hard glide can.
Sweep and Fall
Open Water · Points · Banks
Long, smooth rod sweep to produce a wide glide, then stop everything and let the bait settle on semi-slack line. Watch your line — the fall is a strike window, not dead time.
Surface Burn & Follower Trigger
Followers · Low Light · Converting Lookers
Speed the retrieve near the surface to wake like a fleeing baitfish. When a fish tracks, don't stop dead — chop-chop direction changes or a burst of speed force the decision. The kill-and-fall stops the bait completely and lets it wander down; followers that have seen every hard-glide trick will sometimes eat the fall.
Where to Throw Each
Dock Posts
Skip under and work the shade line with the chop. The soft body forgives bad skips in a way a hard glide never will.
Laydowns
Hold the bait in the strike zone around branches and trunks. The chop excels at loitering next to cover.
Shade Lines
Parallel banks and docks where bass ambush from shadow.
Points
Sweep-and-fall retrieve covering the crown and breaks.
Wind Banks
Wind and chop hide the bait and make followers commit.
Bait Zones
Pre-spawn staging and fall shad migrations — anywhere bass are tracking big meals.
Cheat Sheet
Learning the technique
Berkley Chop Block 6" in shad — loop knot required.
Bait won't chop
Check the line tie. Nine times out of ten it needs a loop knot or split ring.
Fish follow but won't eat
Kill-and-fall — stop the bait and let it wander down on semi-slack line.
Low light or schooling bait
Surface burn to wake the bait and flip the chase switch.
Need a cheaper second profile
Berkley Nessie — softer action, sweep-and-fall specialist.
Ready to step up
Grow Design Flag 255 for the widest S-glide in the soft category, or the Flag 170 for a mid-size step-up.
Shop the recommended gear, lures, and trailers
6 hand-picked items for this technique